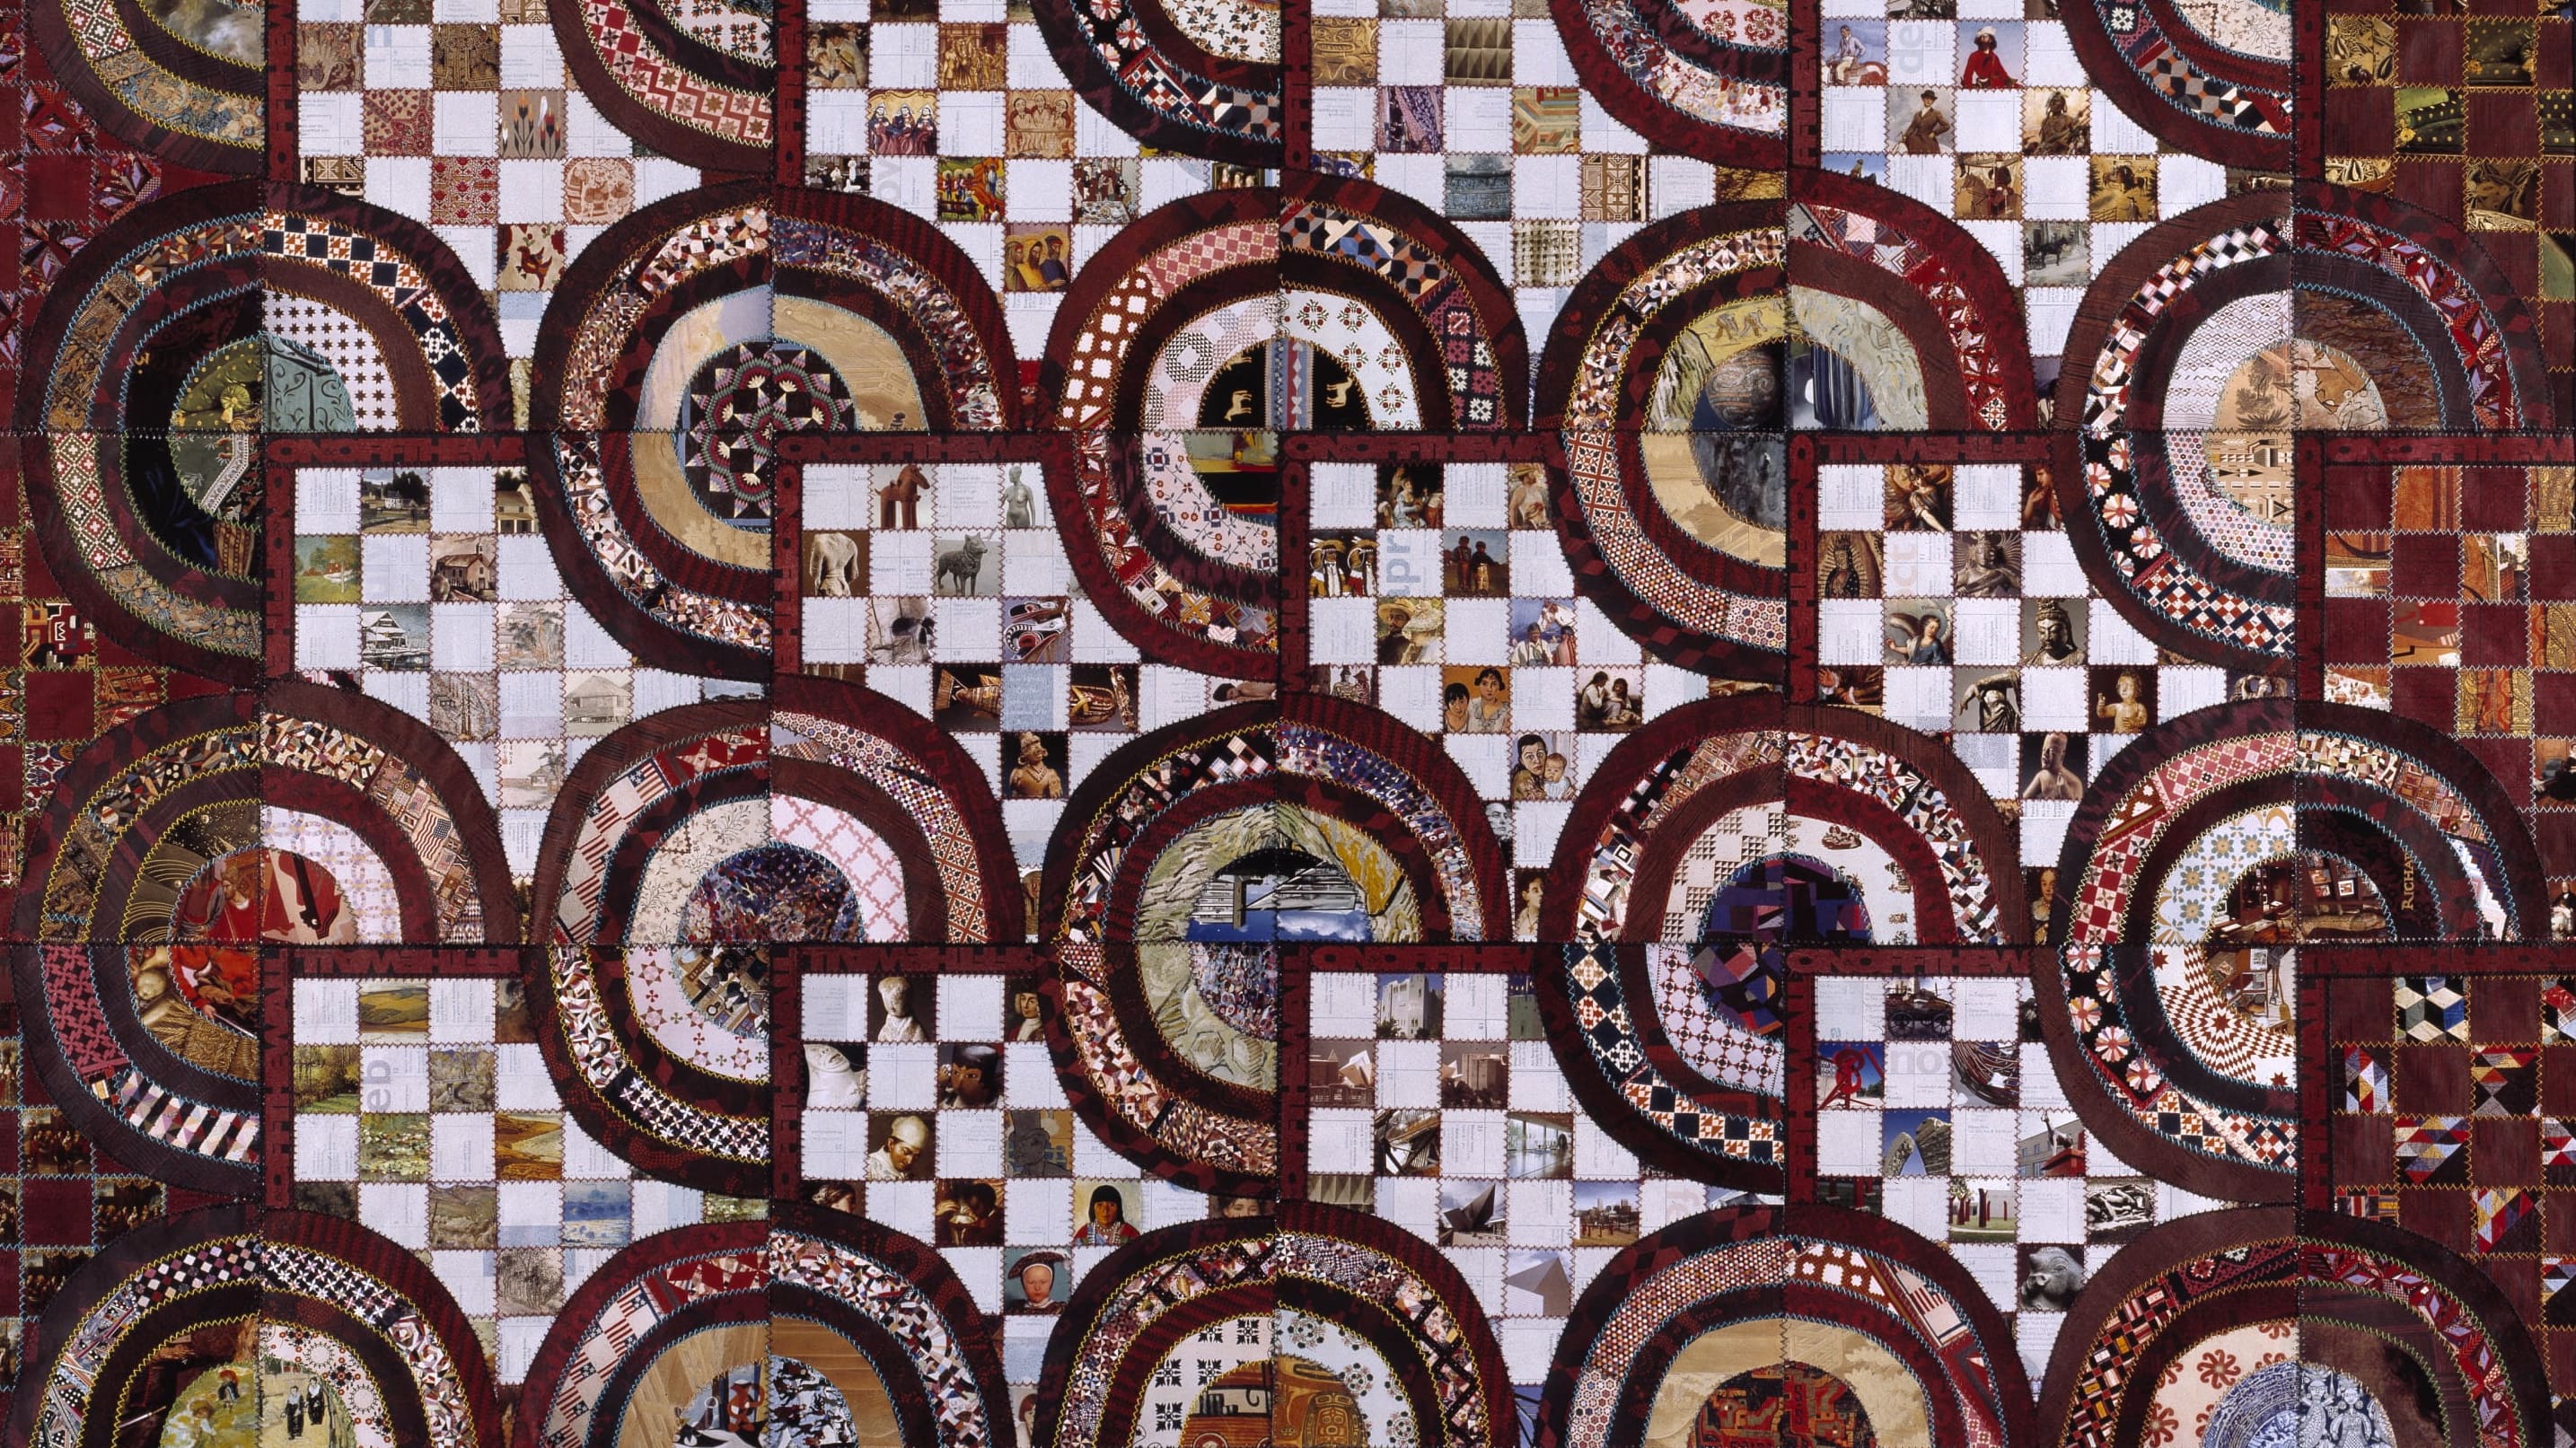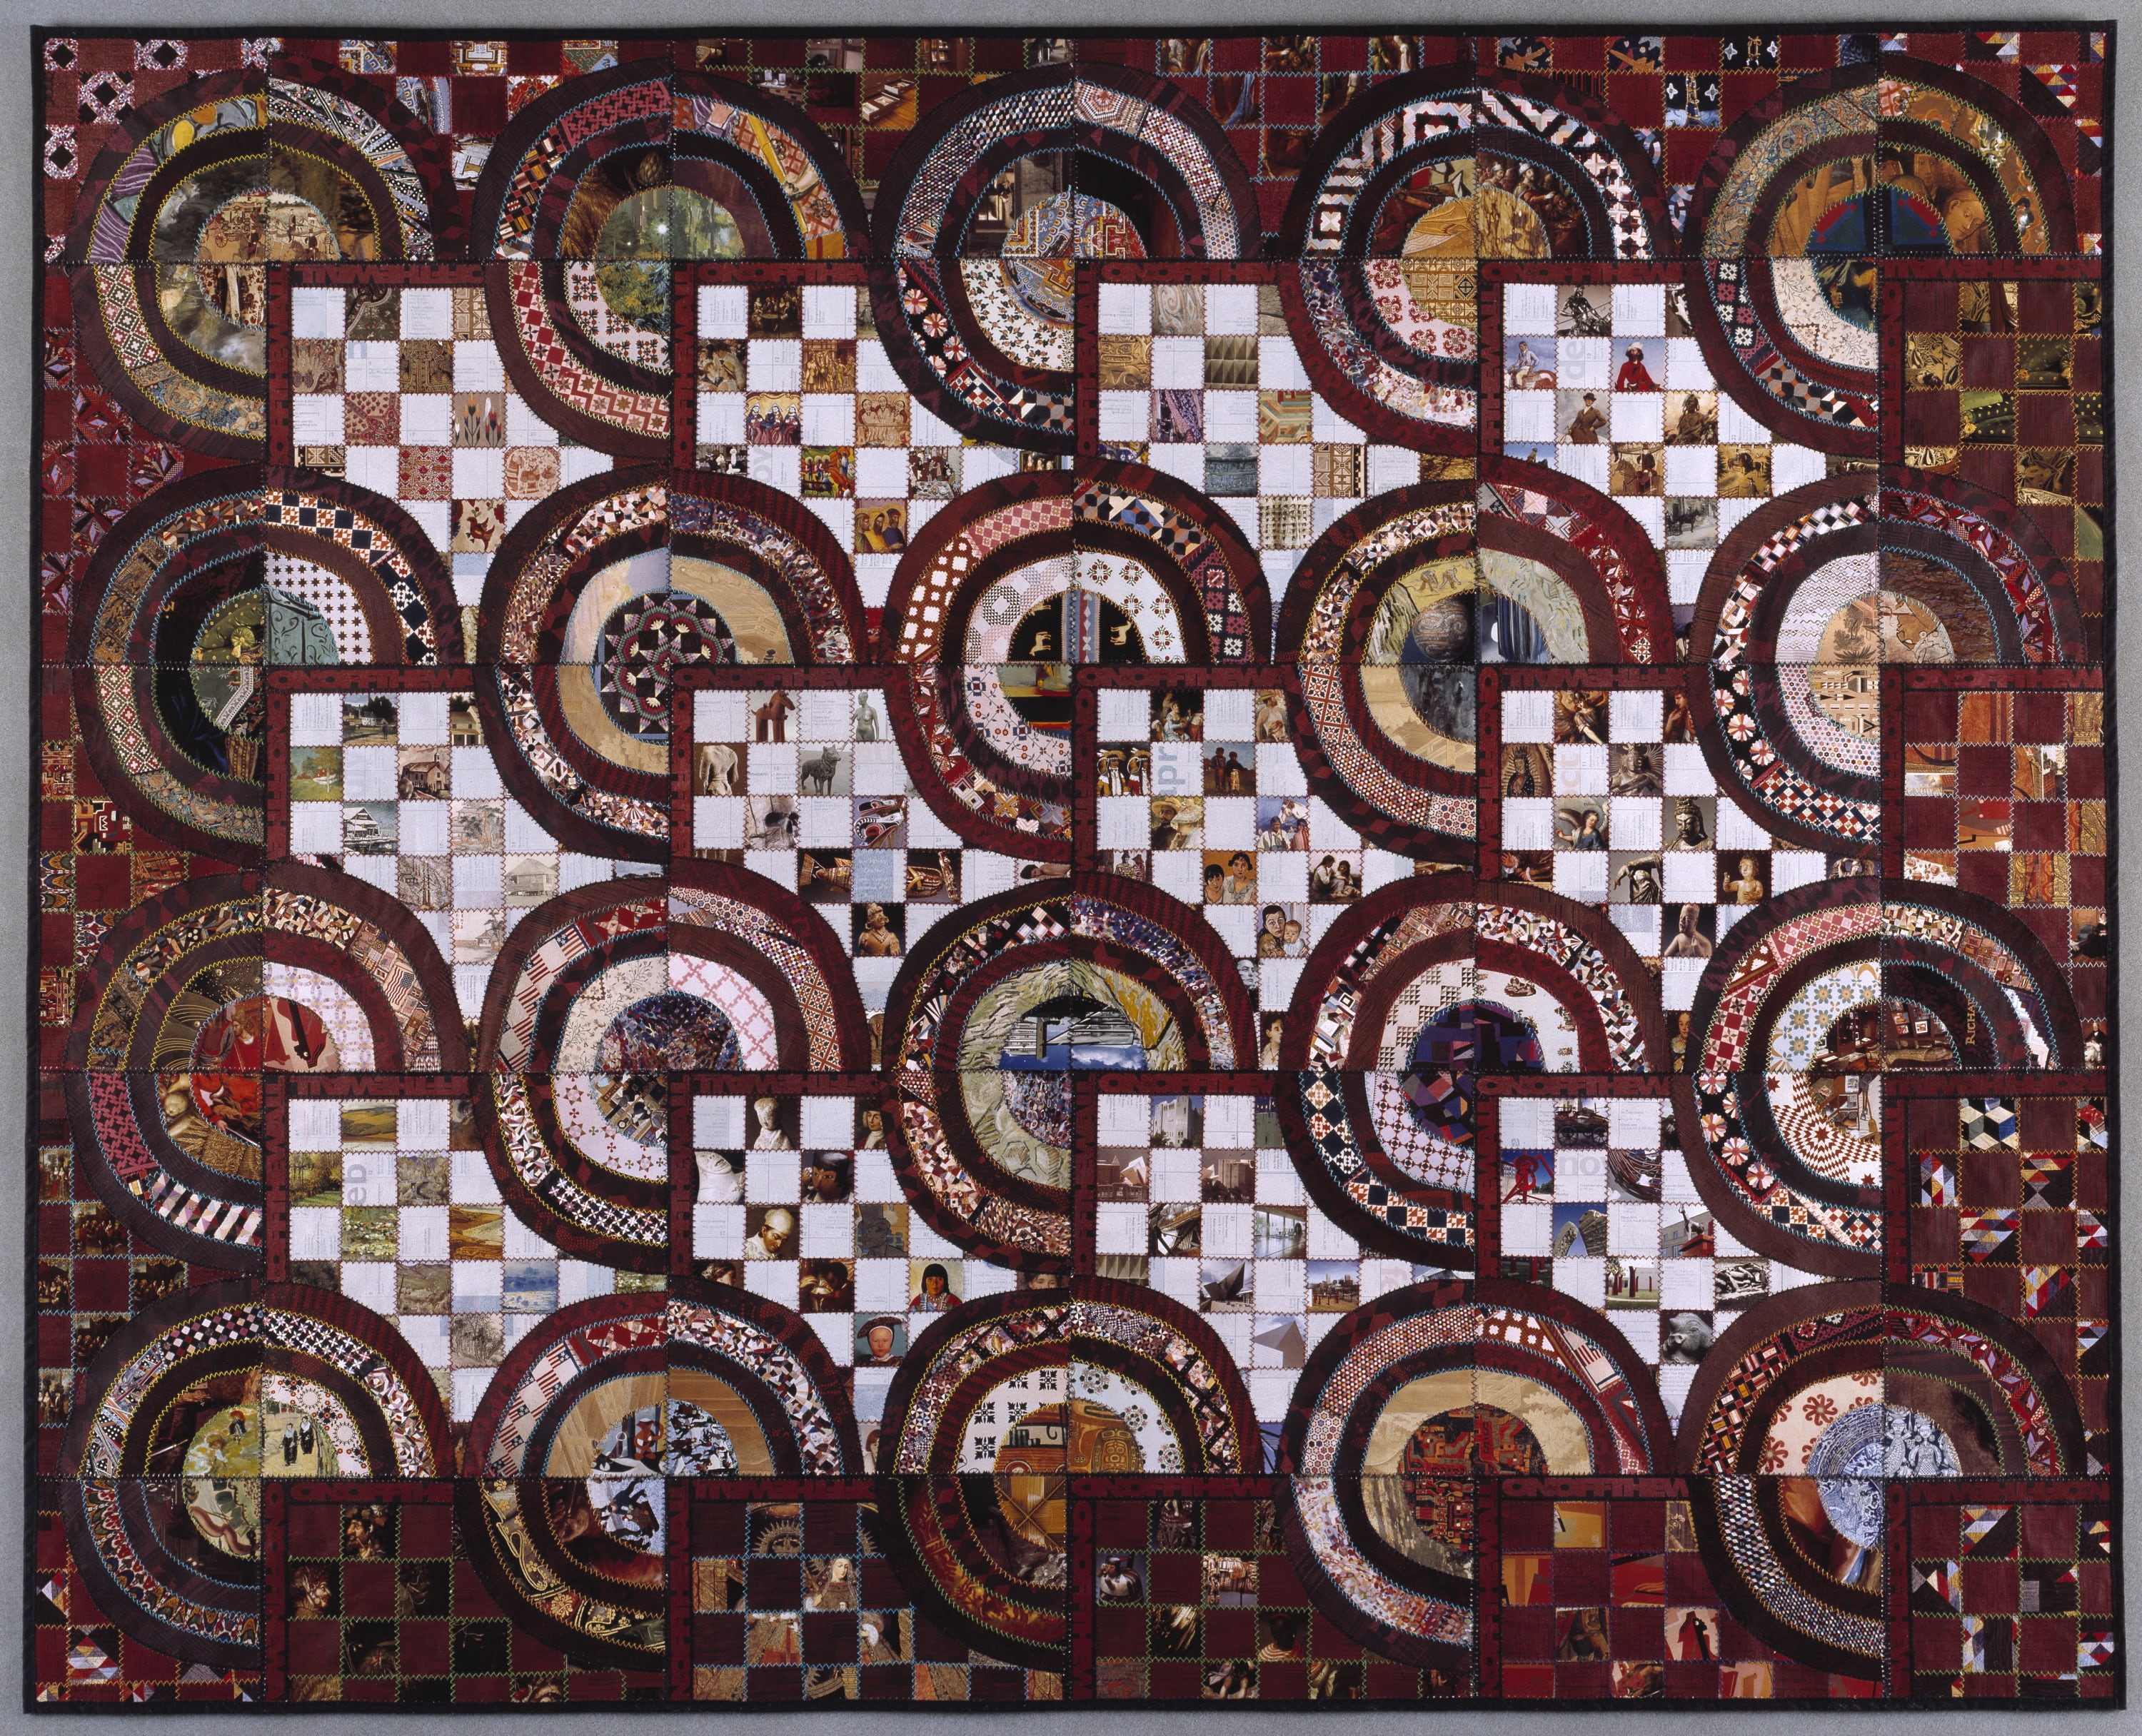
Jane Mathews, DAM Crazy, 2006, paper quilt, 47 1/2 x 59 in, Neusteter Textile Collection: Helen Strange Patterson Memorial Fund and funds by exchange from Katherine Hicks
Instructions:
- Collect scraps of colorful paper (tissue paper, patterned paper, cardstock, computer paper) and place them in a basket in an art area. Encourage children to tear or cut pieces in various sizes.
- Add several small cups of glue or Mod Podge. Use small silicone cups (like muffin cups). This helps students to not use too much glue and clean-up is easy. Let the cups dry out each day (without stacking) and the dried glue will pop right out!
- Include wide foam paint brushes in the area.
- Offer large sheets of paper for gluing.
- Let students use their imagination to glue pieces to the background and use guiding questions to facilitate their exploration when possible. With guiding questions, this activity can also build directional vocabulary (above, below, next to, etc.)
Guiding Questions:
- What happens when you put two pieces of paper on top of each other?
- Do you see a color change when layering tissue paper?
- How can you put smaller shapes next to each other to make bigger shapes?
- How can you use the paper to make a pattern?
TIP: This activity works well when teaching when colors go from primary to secondary. An example would be to only put yellow and blue tissue paper in the art center and allow the children to explore with color change.
Related Creative Activities
Lesson Spark
The Magic of Discovery
Art Exploration
Weaving with Various Materials
Art Exploration
Drip Drop Paint
Art Exploration
Tinker with Mark Making Tools
Art Exploration
Seeing Texture
Art Exploration
