
Now that I’ve reduced the distracting bumps caused by the previous lining adhesive, I must now re-line the picture to another auxiliary canvas support. I was hoping not to have to re-line the picture, but it was not possible to locally mend the tear since the fibers along the tear edges were too frayed and weak.
Instead of using a glue/paste adhesive like the one used in the previous lining, I used a modern heat set adhesive designed specifically for this conservation purpose. Knowing the adhesive’s characteristics, like its melting point for example, I can control the temperature used in the lining process, ensuring it's not too hot for the painting itself. If the temperature soars too high (roughly above 200° F), oil paint can become malleable (flexible) and I could inadvertently flatten the paint or impart a texture into it. Here we go!
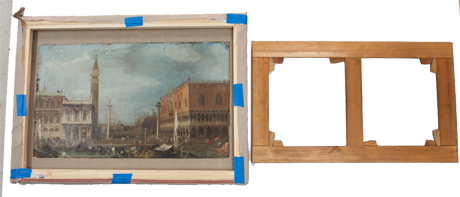
I first prepare a lining canvas—generally a linen or synthetic canvas that possesses a finer weave than that of the original. Then, I apply a synthetic size (an isolating layer) to the canvas so that the adhesive, when heated, does not bleed through to the reverse. Next, I place the original canvas on the lining canvas and trace its exact shape, then tape out the outline of that shape. See the image above. I then apply the viscous adhesive to the canvas, ensuring that it is absolutely level, and let it dry.
I used the vacuum hot table, again, but this time to bond the two canvases together. By controlling both the temperature and pressure, I can guarantee a secure bond between two canvases without causing any damage.
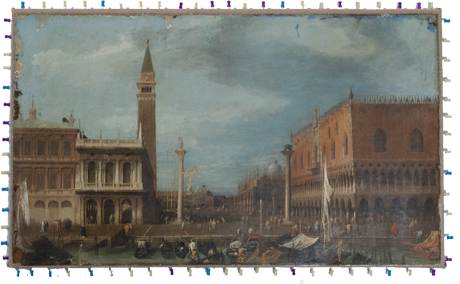
After the painting was lined, I restretched it back onto its original stretcher. I had to first center the canvases, since the original canvas is actually smaller than the dimensions of the stretcher. Once the painting was centered, I first used pins to attach the canvases to the stretcher, ensuring even tension.
Then, when I was satisfied with the tension, the pins are replaced with the original tacks (and ideally in the original tack holes along the edges of the stretcher). The painting is now ready for the cosmetic phase of the treatment.